
Introduction
It's time to assemble the Rise Gardens indoor garden. In previous posts you can find the process of unboxing the garden and the process of unboxing the nurseries. Today, we assemble.
Rise Gardens makes the following claim on their web page:
Within an hour, you can assemble your garden, connect your app, and plant your first herbs and veggies.
Spoiler: If you don't have children helping, you can definitely hit that one hour mark. For me, the kids wanted to help assemble, so it took about an hour and a half. Not a big deal. It was a good family project and assembly was fairly easy.
Assembly
The assembly manual that we pulled out while unboxing the garden is misleading in how complex the process is. It is a fairly thick manual, but it turns out that is because Rise Gardens has documented the process very well. Most pieces just fit together, get a couple screws and you keep working your way up.
Lower Shelf and Level
The process starts at the base. It's important to note, and it is noted somewhere in the manual, that the garden needs to be level so that the water flows correctly. If it's not level, water has this weird thing about not going where you expect.
We stuck this in a sun room built on a concrete slab. It's not the most level thing in the area. But, with a level and some ingenuity we solved that problem.
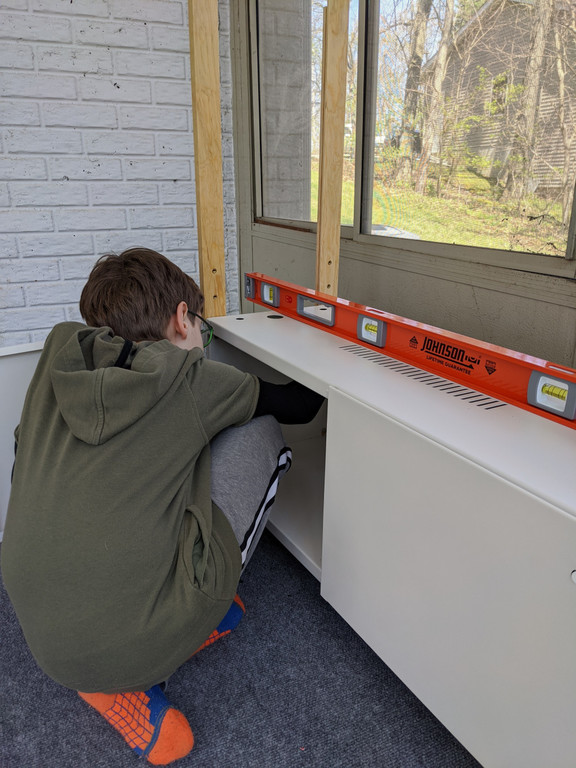
The metal shelf sits an inch or two off the ground once the feet have been attached. The screw holes on the bracket are designed to catch holes built into the shelf. Then they are tightened into place.
The lower tray operates on the same principle. The tray catches on, then is screwed into place with the included allen wrench.
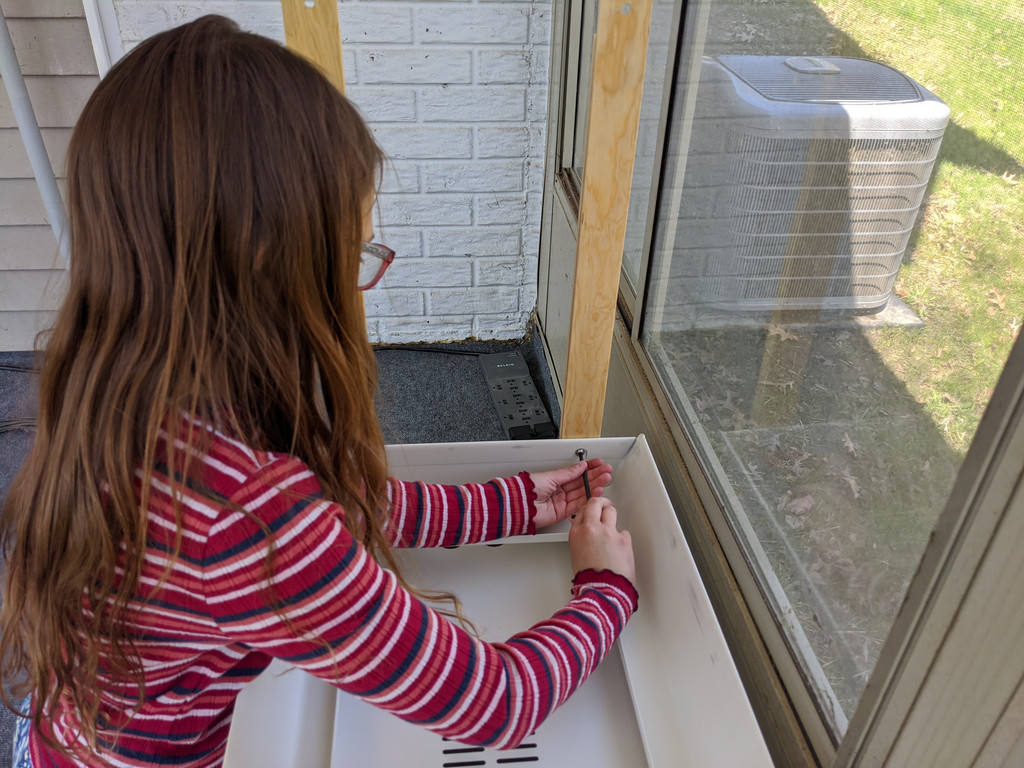
Upper Levels
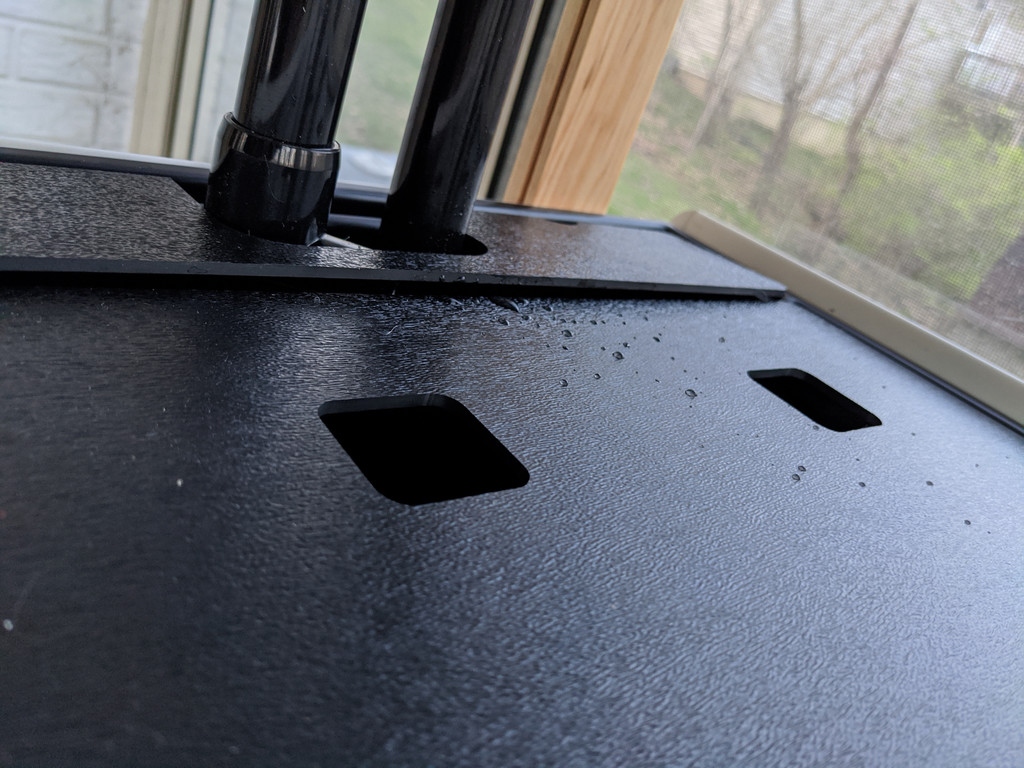
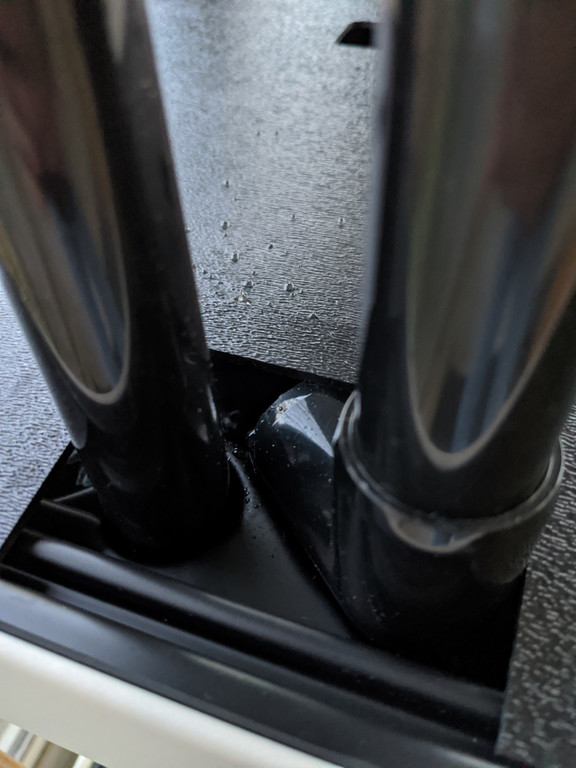
The next two levels are installed by adding the extensions for the level. They attach via a screw to each upright post.
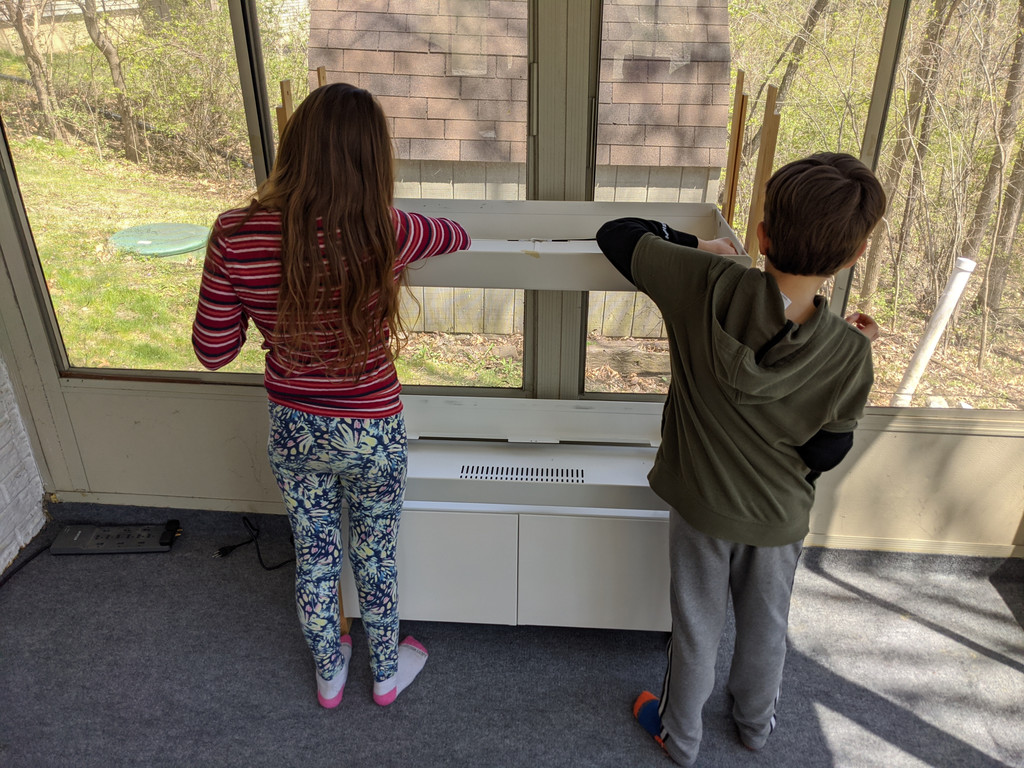
These trays are also attached the same way. On the bottom of these trays is the light that will shine down on the level below.
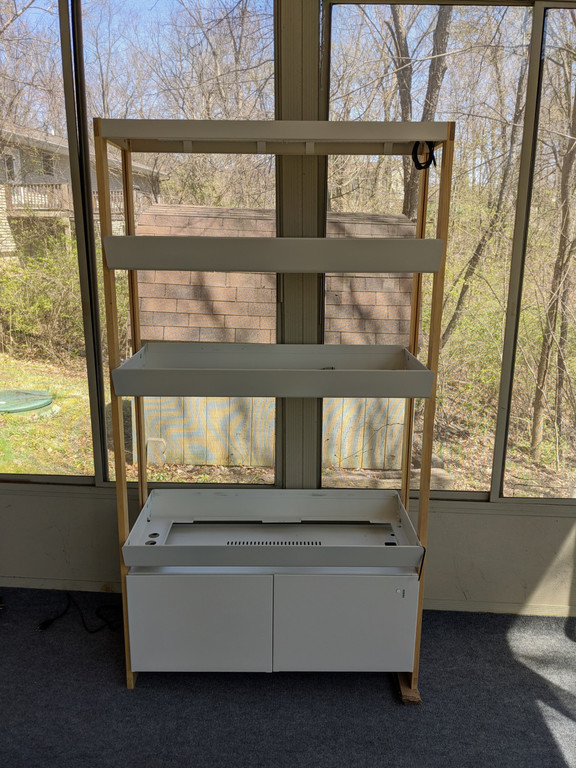
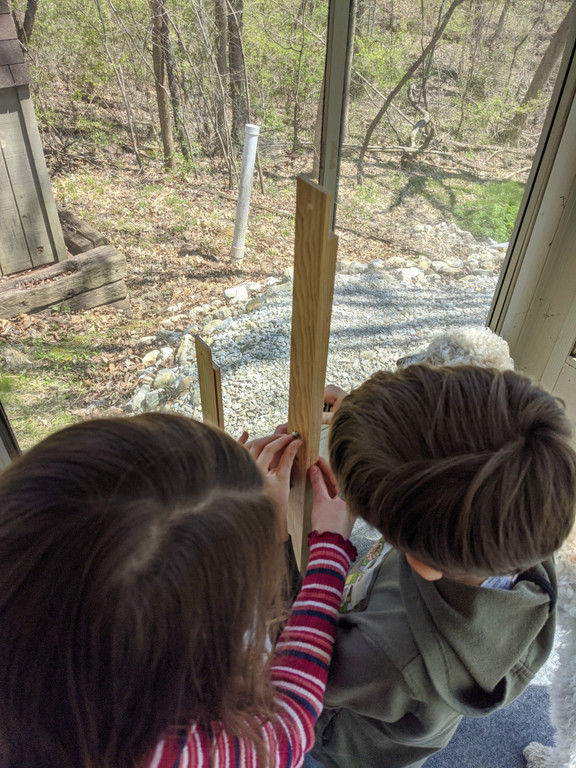
Adding the third level is the same as the second. It is topped with the light. If you look closely at the right foot in this picture, you'll notice we have wedged several layers of cardboard under the foot to ensure the garden is level.
Plumbing
The plumbing was as easy to add as the trays. On the lowest level, we added the thick flexible tubes into the basin below.
The short tube in the back is the pipe that will go up to the plant trays. The longer front one is the water return. I didn't capture a picture, but the small flexible tubing we unboxed earlier actually will go inside the back tube. This is different than I envisioned while unboxing it, but frankly makes a lot of sense. This is a thick pipe and I didn't understand how we wouldn't just flood the system with that much water. The small tubing is much better suited for the task.
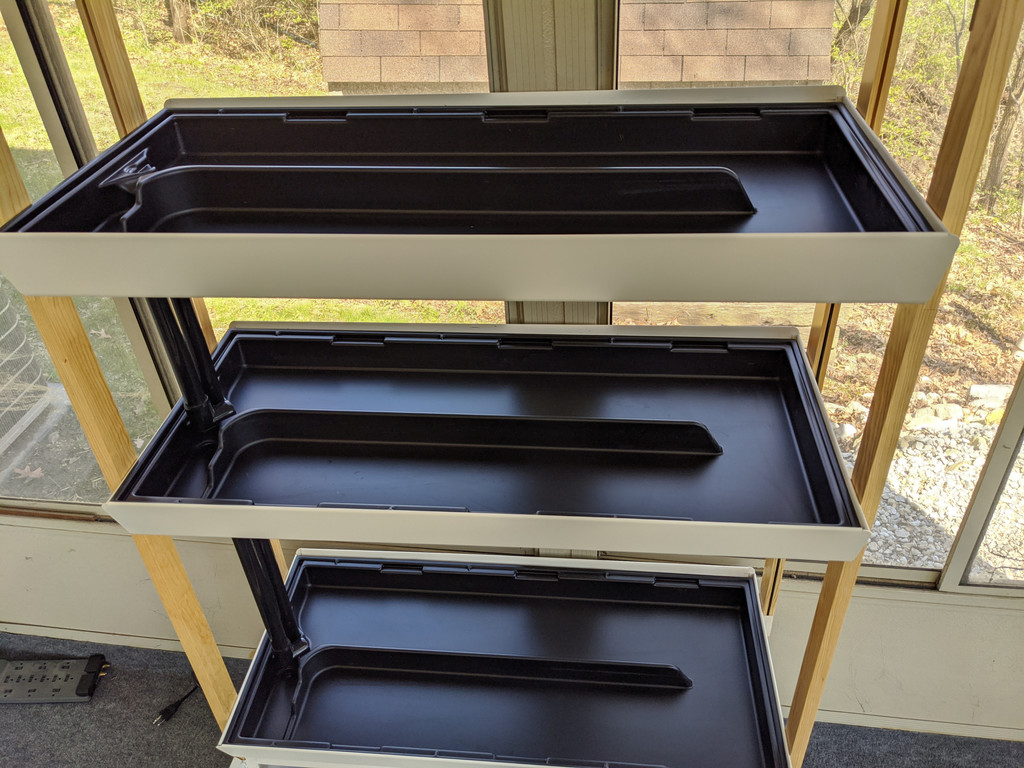
The inflexible black pipes fit into the trays. In the picture above, you can see the plumbing pipes on the left hand side of the garden.
The water will flow from the basin at the bottom, all the way to the back top. It will flow around the edge on the right and drain down to the lower level. This will repeat for the second level and then the first and flow back into the water basin.
Testing the system
With assembly done, it was time to test the lights and add the water to look for leaks.
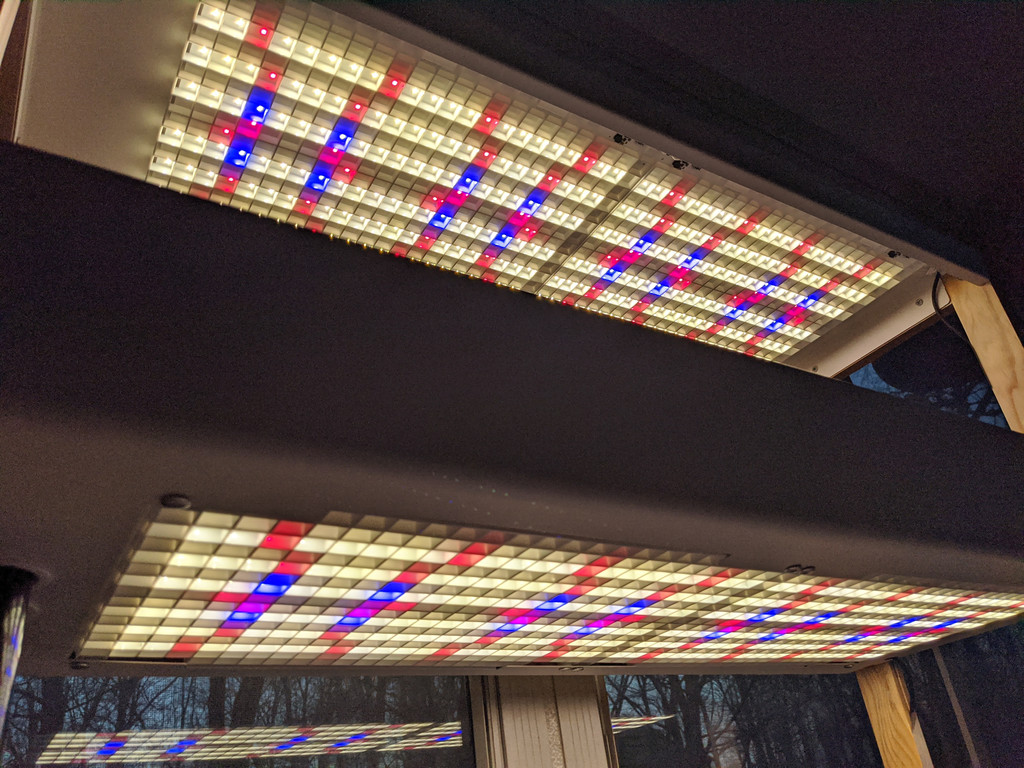
Light check went well. They work at full power and 50% power, as expected.
Adding water to the basin and trays and turning on the pump went better than expected too. Water and I don't always get along. In this case though, water went up and cycled through as expected.
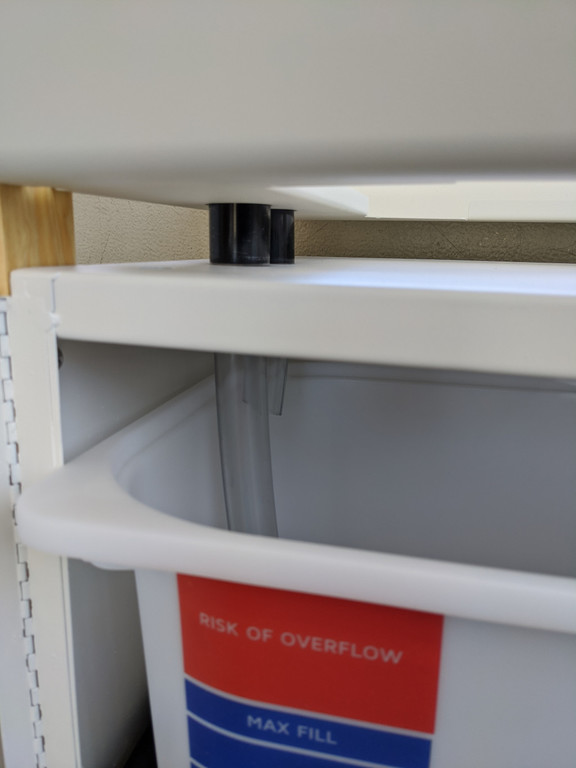
But, there was one aspect I didn't like about plant trays and the water. Each level has three large plant trays with four holes each to support twelve plants on the level. There is also a gap by the plumbing that has a small black covering too. That covering doesn't fit though.
There is a gap that forms, because the output pipe on each level prevents this covering from sitting flat. When the pump was first turned on and for the first few hours, we noticed that water was splashing out of this gap.
As you can see here, the output pipe and its 90 degree elbow doesn't fit under the black tray covering.
This is something I'll have to keep an eye on. I have had the system running for about a week, by the time this was posted. The first day or two, while the water level was high, I noticed this splashing. As the water level got lower though, I noticed less and less.
Summary
Assembly was incredibly easy. The kids helped do almost all of it. Plumbing was also easy. Almost, plug and play, easy. I give huge props to Rise Gardens to making the assembly so simple.
I have one big complaint, but it's not related to assembly. It's related to the tray gap I mentioned above. I really wish the output pipe didn't get in the way of the black tray coverings, so that it could sit flat.
I also have one suggestion. In the next iteration, put adjustable feet on the bottom of the upright brackets. I can't imagine I'm the only one with an uneven floor, and it'd be so much easier to level it with some adjustable feet.
The build quality is good, minus that tray fitting. It feels very stable. I've had the water running for a week now and the plants in the nursery are getting close to the point where they can be transplanted to the garden.
Next up, planting the nursery and watching the seeds sprout.